Accessing pages with self-signed SSL certificates in Selenium can be a bit tricky. The core of the issue is every major browser raises a security issue when accessing a page using a self-signed SSL certificate. Since this security check takes effect before the Selenium Javascript can execute, there’s no way to instruct the browser to accept the certificate.
Selenium as a Proxy Server
As it turns out, there is a solution built into Selenium, but there’s some work involved to get it going properly. Unless you use the -avoidProxy argument when you start up the Selenium server, it will serve as a proxy for connections originating on localhost. If you start the Selenium server with the -trustAllSSLCertificates argument the proxy will be able to handle any type of SSL certificate issue for any site. The corollary to using Selenium server as a proxy is that your browser sessions need to be configured to use the Selenium server as a proxy. It should be noted that this is not the same as proxy injection mode; Selenium is not injecting itself into your page, it’s simply proxying the content for you.
Configuring the Selenium Browser Launchers
You configure the browser’s proxy settings through the browser launcher. Some of the provided launchers do this already. For Internet Explorer you can use the *iexploreproxy launcher and for Firefox you can use the *firefoxproxy launcher. Another option is to use a custom browser launcher. We do this with both Firefox and Internet Explorer and the code can be found on our GitHub repository.
We found the default chrome launcher for Firefox is very close to what we want and we didn’t want to have to manage our own custom profiles. So we use that launcher as a base and modified it such that if Selenium server is started with -trustAllSSLCertificates option then the generated Firefox profile will set up the Selenium server as the proxy. The patch actually modifies the *firefox launcher, but a custom launcher is likely a safer option for you.
The reason we use a custom launcher with Internet Explorer is that we’ve experienced reliability issues with the *iexploreproxy launcher. We’ve found *iexplore to be more reliable so our custom launcher simply configures Internet Explorer to use Selenium as its proxy server and then uses HTA to perform the browser automation functions, similar to how *iexplore operates. The code for this launcher is also available in our GitHub repository.
An extra step is required for proxying SSL content with Internet Explorer. Selenium bundles a special certification authority (CA) certificate that is used to trust all the other SSL certificates. Windows will not trust this CA certificate until it is installed in the trusted root store.
Installing the CyberVillains Certificate on Windows
The following figures show the steps necessary to install the CyberVillains certificate on Windows. This is only necessary if you’re using Internet Explorer. Selenium is able to manipulate Firefox to trust the certificate with its custom-built profile.
The CyberVillains certificate is bundled in the most recent Selenium RC releases. If you download the distribution and extract it, you should be able to get going starting with Figure 1. In the explorer address bar in Figure 1 you can see where to find the certificate. You must substitute the base path (C:\, here) with wherever you extracted the files.
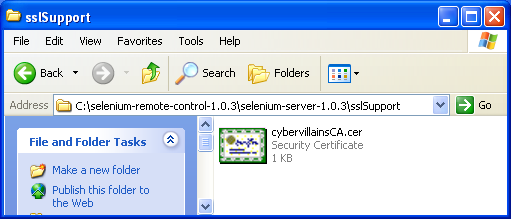 Figure 1: Double-click the CyberVillains certificate in the selenium server distribution.
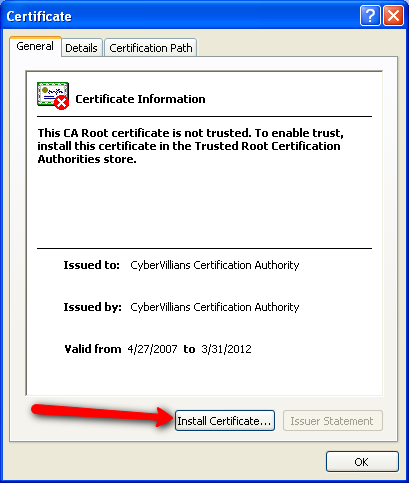 Figure 2: Install the CyberVillains certificate.
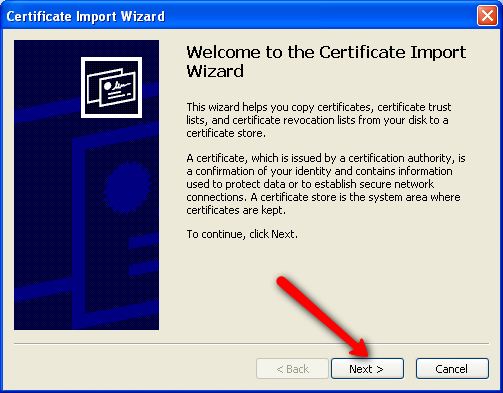 Figure 3: Click through the SSL certificate import wizard.
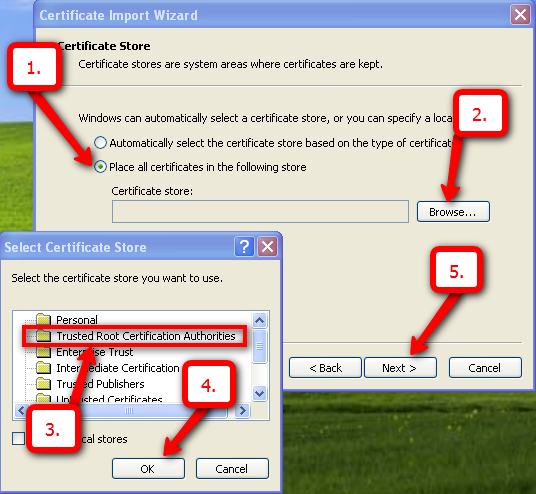 Figure 4: Choose the Trusted Root Certification Authorities certificate store.
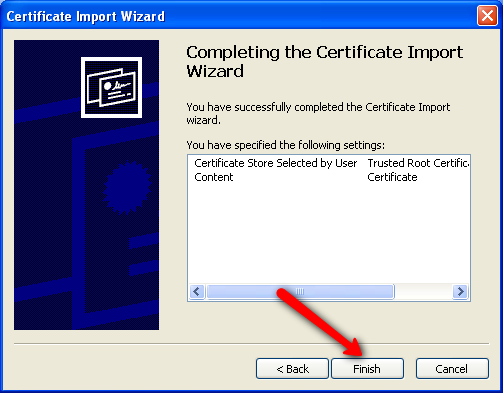 Figure 5: Complete the import.
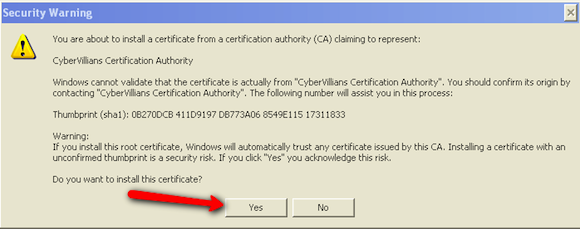 Figure 6: Accept the security warning.
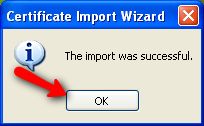 Figure 7: Wrap everything up.
At this stage everything is set up and you should be able to run your Selenium server with the -trustAllSSLCertificates argument without any problems.
Conclusion
To recap, accepting self-signed certificates in Selenium is a two-staged process. You need to instruct the Selenium server to trust all SSL certificates and then tell the browser to use the Selenium server as a proxy. You may find that creating a custom browser launcher is the best way to configure your browser’s proxy settings. After doing this, you’ll be able to test sites running on domains with self-signed and invalid SSL certificates.